Simple Guide to Automatically Deploy Hexo Powered Blog by Travis-CLI
Contents
This is a guide to simply setup Hexo auto-deployment to github pages by Travis-CLI.
Goals
- Every time a post is modified or added via github web UI, Travis-CLI would rebuild the whole github page site
- Let Travis-CLI to re-generate Hexo posts and pages
- Let Travis-CLI deploy generated posts and pages to github pages
- Keep sensitive information (here it would be the github personal token) away from public
Prerequisites
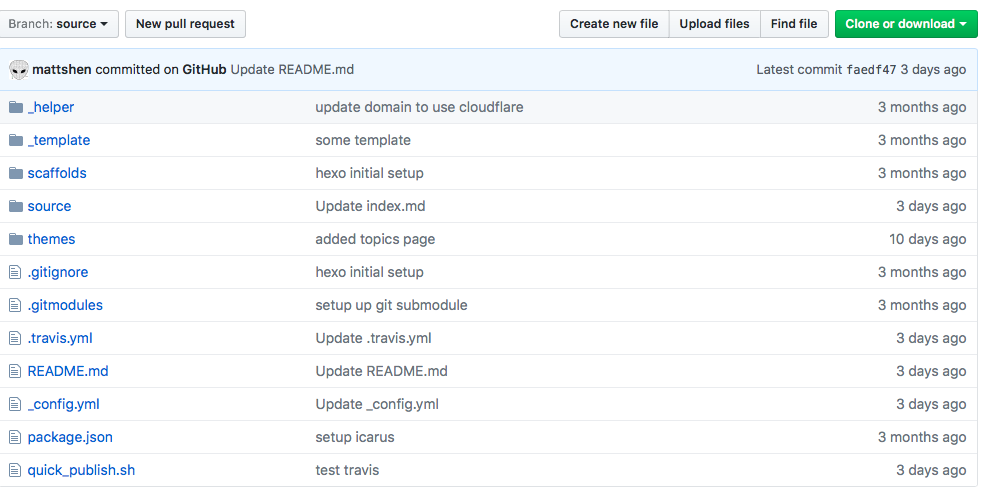
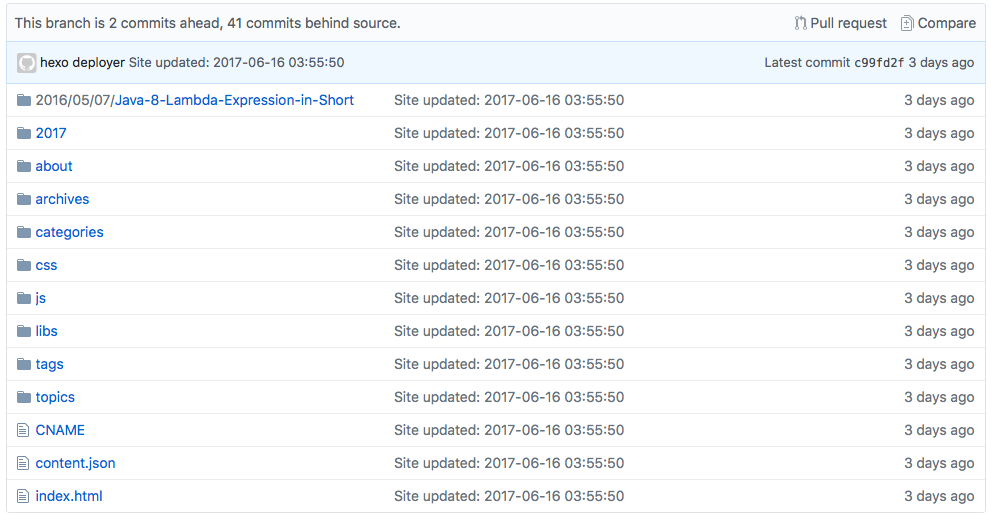
- A Github repository with source branch (Hexo project) and master branch (github pages). Here is how it looks like:


- Login Travis-CLI via github account, and allow Travis to access the github repository.

The Setup
The configuration file .travis.yml
.travis.yml is the file to let Travis know how to build the project. Create one and put it in source branch of the git repository
1 | language: node_js |
NOTE: We will add __GITHUB_TOKEN__ environment variable later in Travis
Give Travis Access to commit generated files to the github’s master branch
- Modify Hexo
_config.ymldeploy URL by adding the__GITHUB_TOKEN__string. Here is what it looks like:
1 | # Deployment |
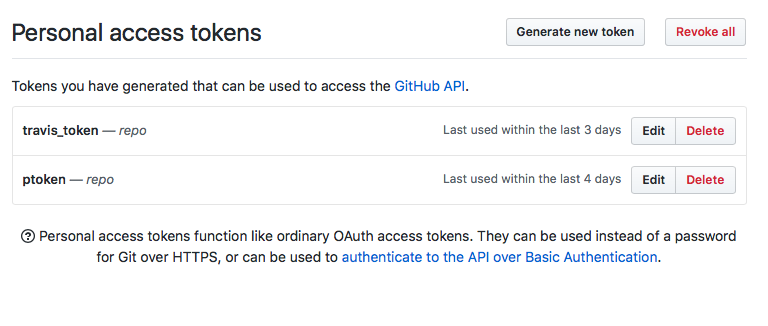
- Generate Github Personal access token from github –> personal setting –> Personal access tokens

NOTE: make sure it has “repo” scope ticked.
- Copy the generated token, then create it as environment variable in Travis using name
__GITHUB_TOKEN__. Here is how it looks like:

NOTE: make sure Display Value in build log is off, otherwise the secret personal token would be revealed in the build log which is visible to everyone.
Test
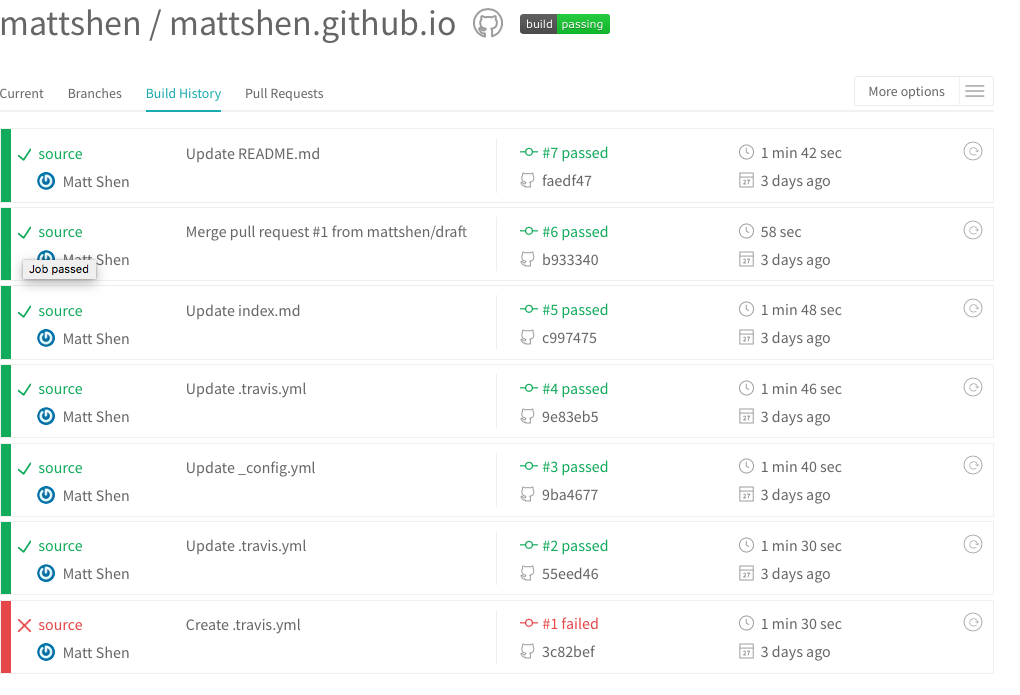
Changes Any file in source branch would trigger a Travis build.

End
After this setup, Travis would be triggered by changes committed to source branch, and start building according to .travis.yml.
Have fun with Travis and Hexo Blogging. :)